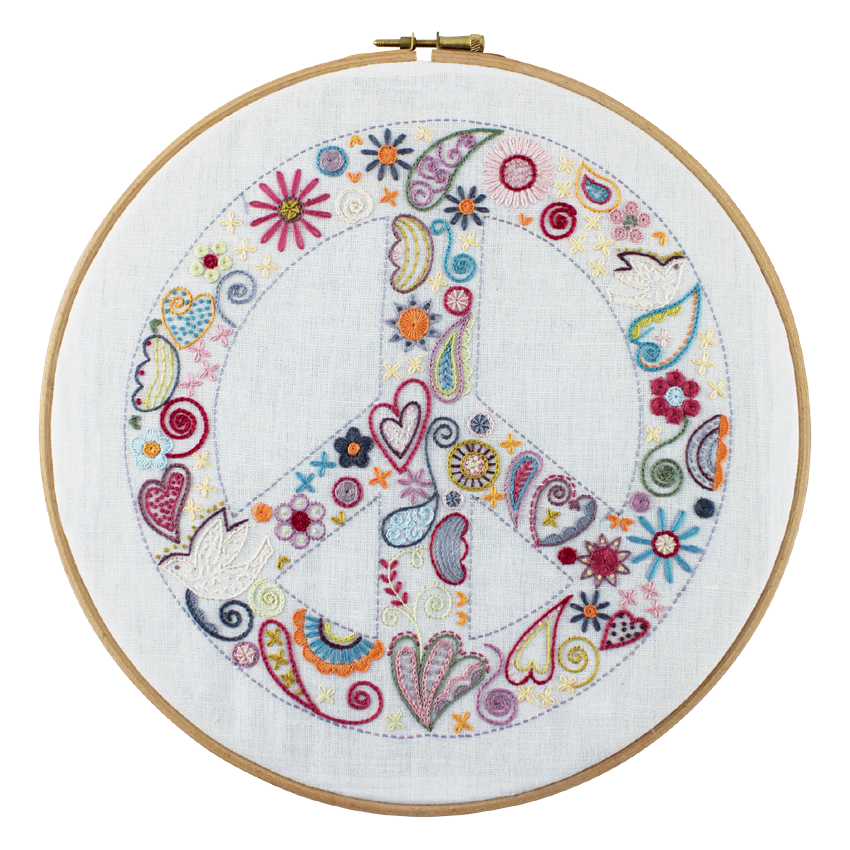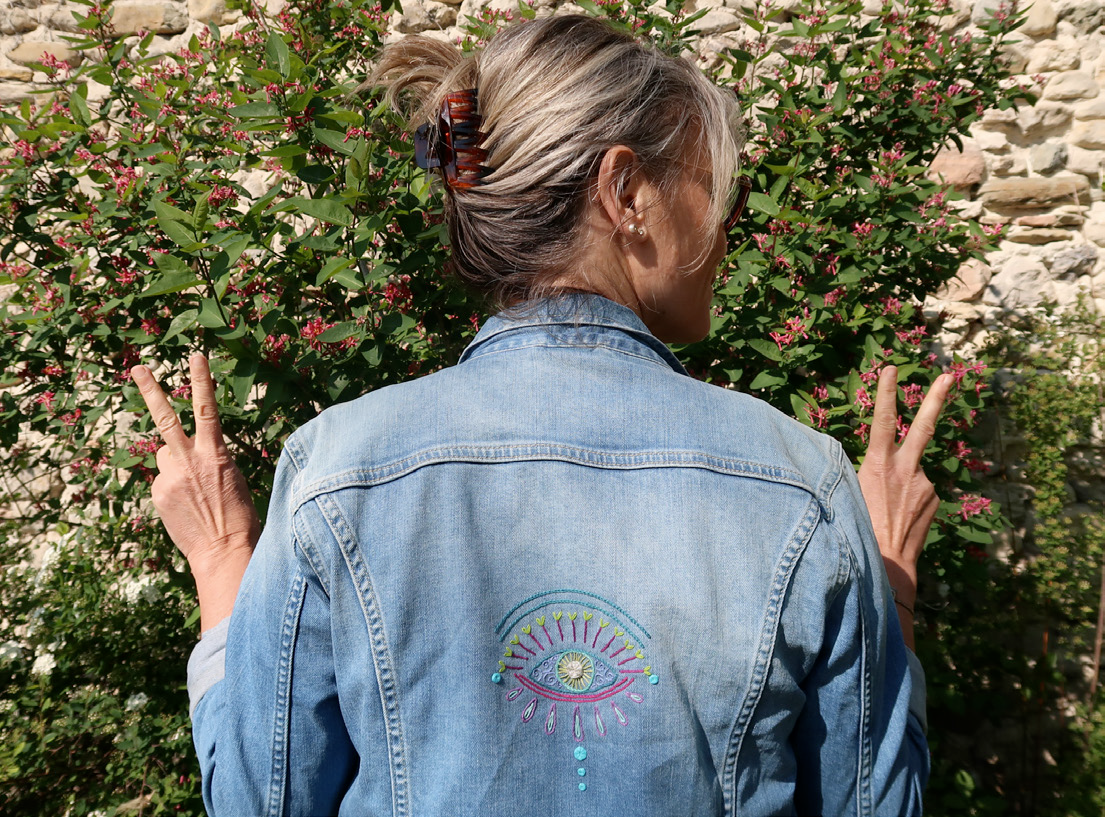


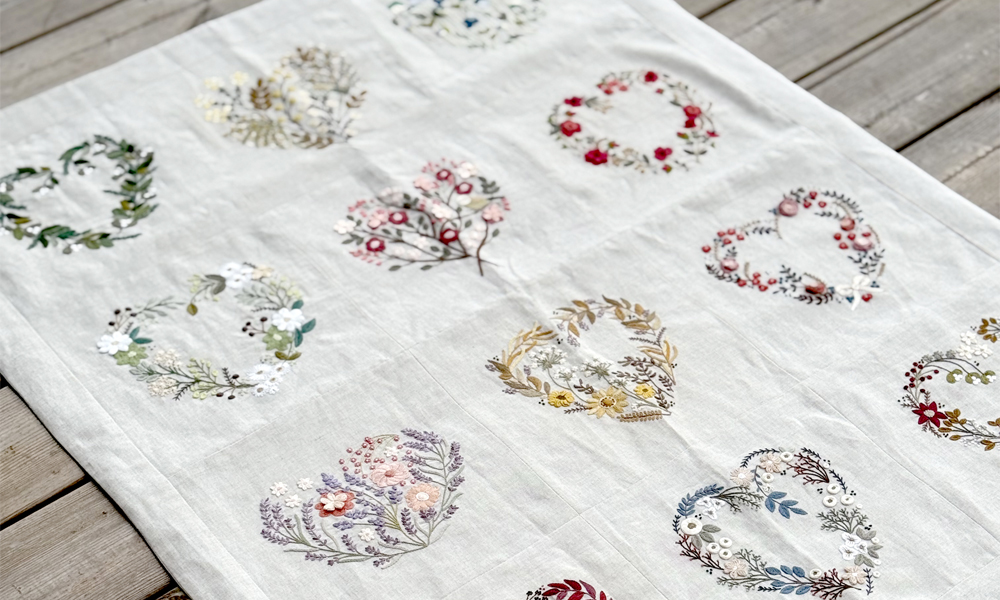
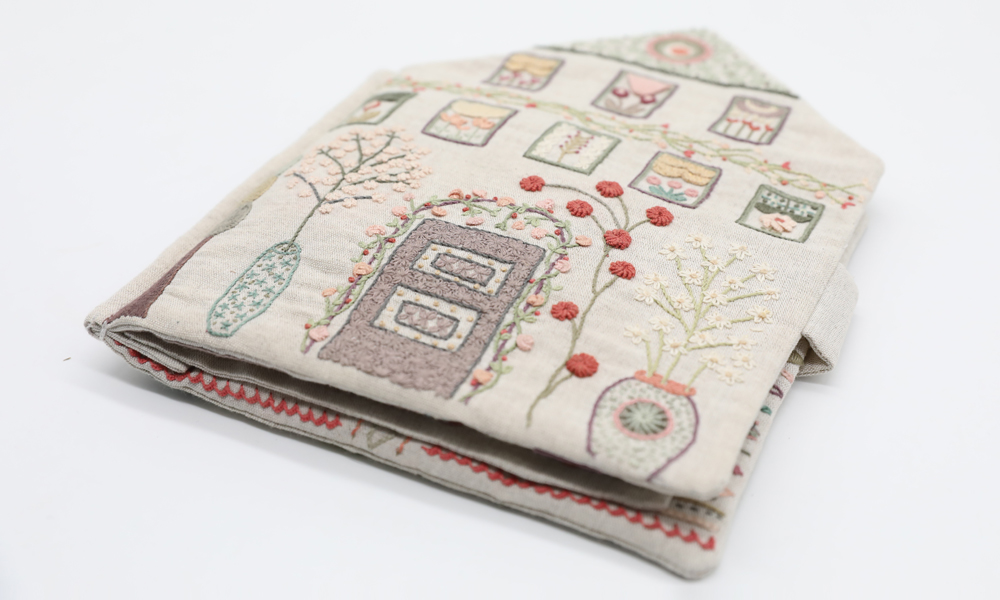


Beginner’s guide to embroideryMy fascination with embroidery all began with a few threads and pieces of canvas combined with a skill and passion passed on by my grandmother in traditional embroidery, which I later enriched by training up on a variety of stitches: stem, satin, chain, blanket, palestrina... all of which left me with a strong desire to create more modern models, in line with current trends in decoration.
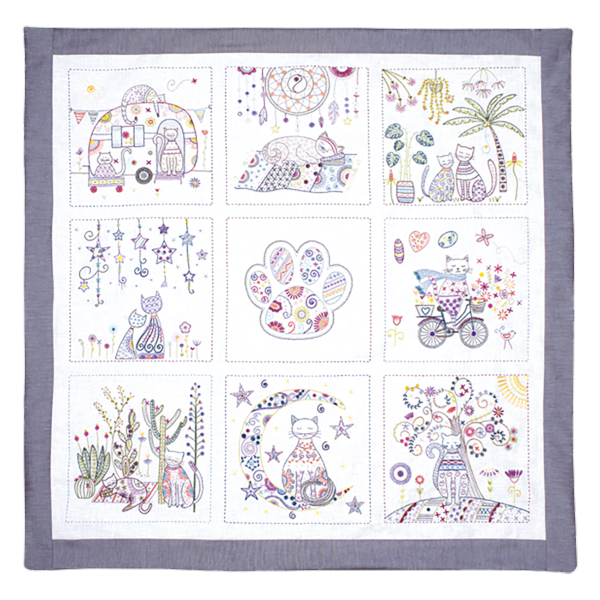
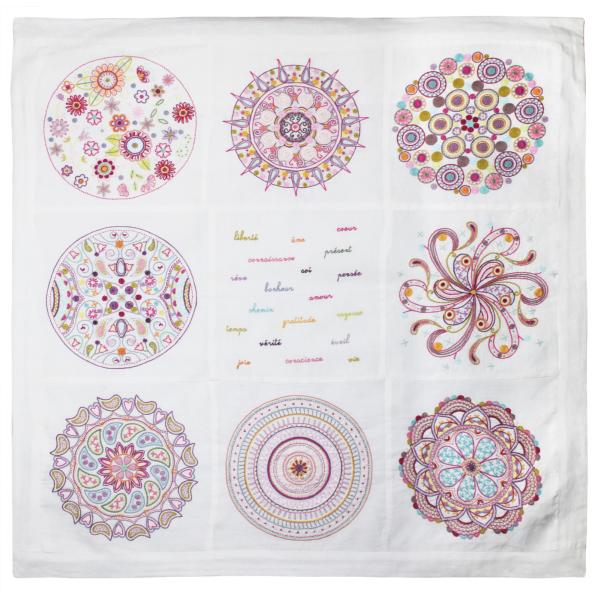
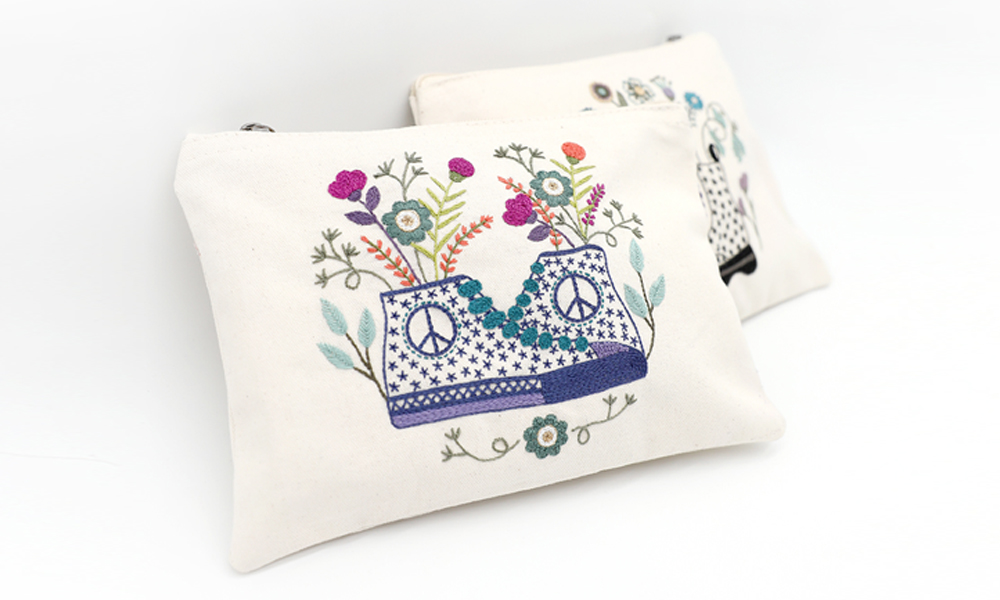
Being accessible to everyone, the traditional embroidery kits from “Un Chat dans l’Aiguille” allow you to discover the pleasure of embroidery and the satisfaction of making useful and decorative objects. So as to accompany you step-by-step in the realization of your projects, you will find in our kits, together with the precise technical sheets, all the colors of thread you need, pre-printed fabrics, detailed diagrams for each stitch of embroidery as well as very simple sewing assembly guides.
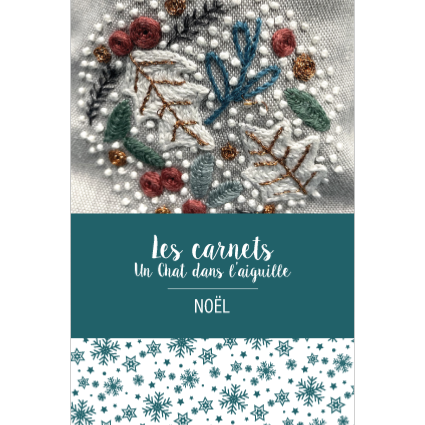
Blessed with the French touch, “Un Chat dans l’Aiguille” is appreciated all over the world. You can find us in France and pretty much everywhere else on the planet!
As a beginner, you will have to ask yourself many questions like: where do I start? Which threads should I use? Which points are the best suited? Do not worry. This guide has been designed to answer all your questions and allow you to discover the joyful pastime of traditional embroidery.
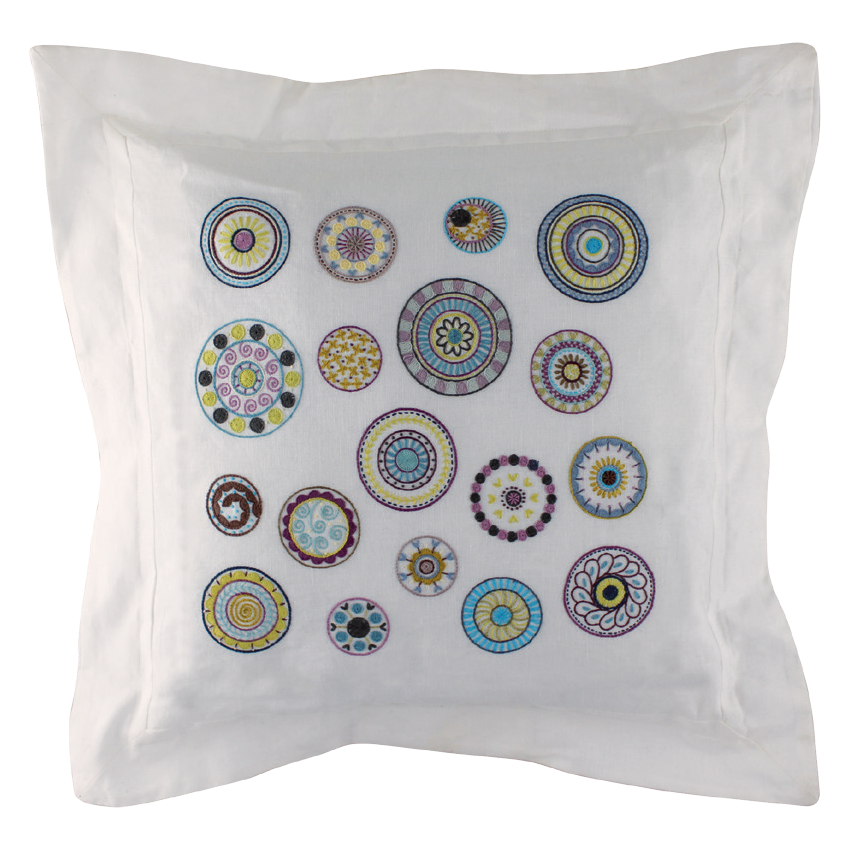
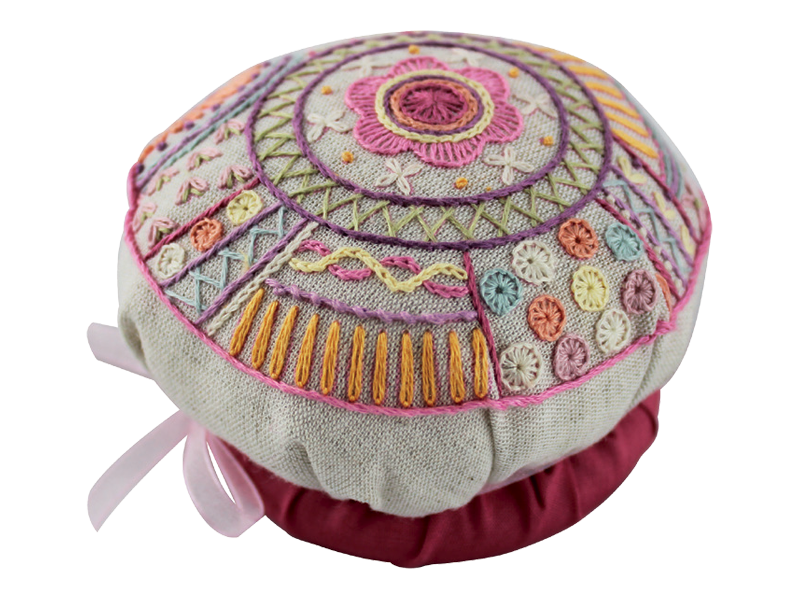
Our leitmotiv: Have fun while embroidering Embroidery is easy Embroidery is good for you01. Basic MaterialThe fabric In traditional embroidery, unlike the counted stitch, we do not count the woven threads. The patterns you will be embroidering are directly reproduced or printed on the canvas, allowing you to simply follow the drawing. The fabric can be made of cotton, linen or silk. It can be thin or thick, but in either case, choose an even weave fabric with a regular pattern woven in. The tighter it is, the easier the job will be. It is up to you to choose the most suitable fabric according to its intended use. One more important thing: your fabric must be washable.
Our preferences:
Threads Here are the threads we use:
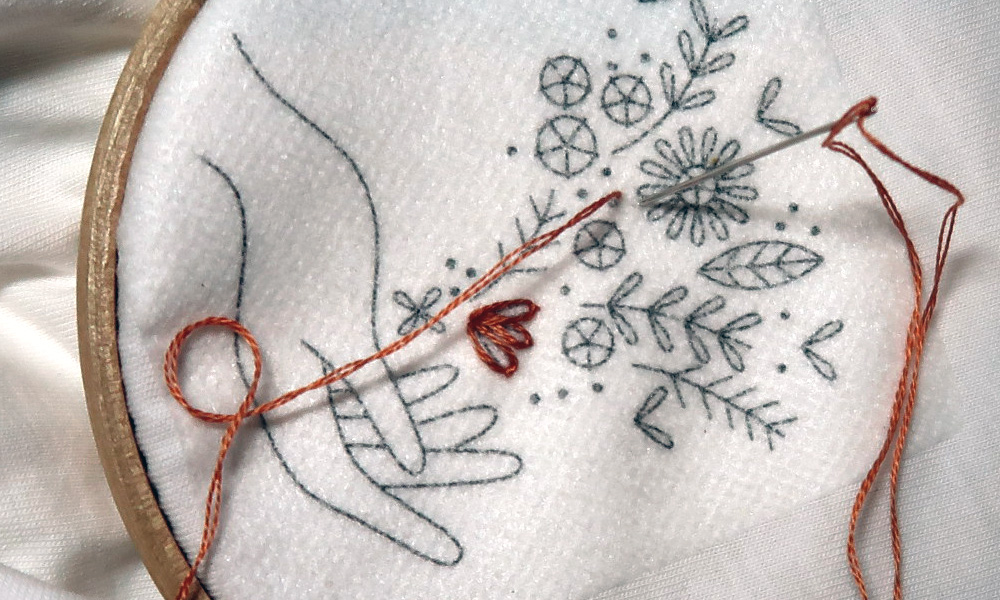
Needles The embroidery needles are not the same as those used for the counted stitch. They have a pointed tip and a wide eye so that the threads do not get damaged. It makes threading them easy, especially if you are stitching with several strands of thread. There are different sizes of needles ranging from 3 to 10. The smaller the number, the bigger the needle and the eye. In general, when embroidering with two threads, we use a needle size 9. If your needle gets bent, be sure to change it.
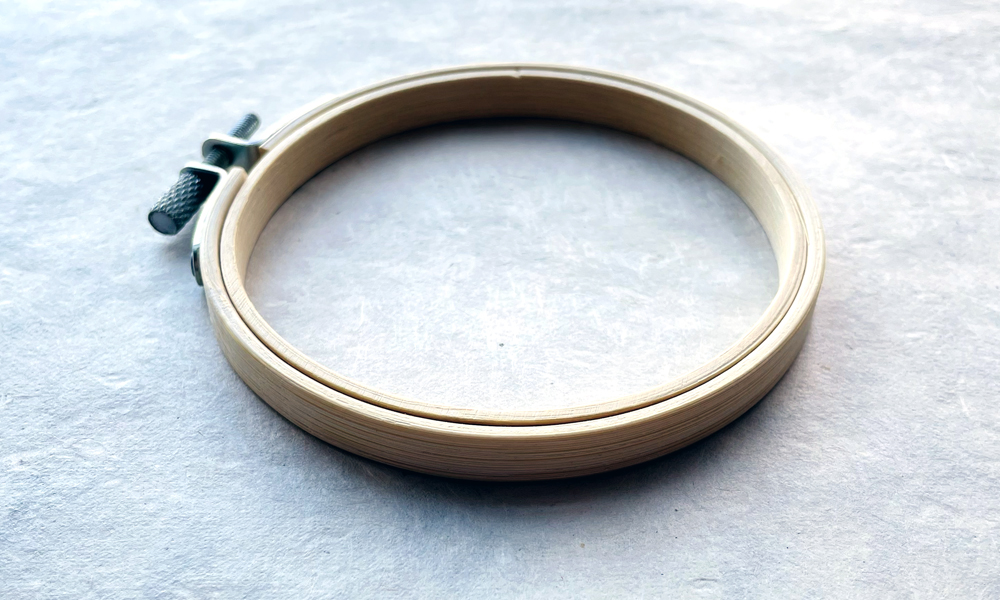
In all our kits, you will find a needle size 9. You will quickly find that using a needle per color will save you a lot of time. We use a wide variety of colors so don’t hesitate to stock up and buy a needle pack on our website. For some stitches such as the Boulogne stitch, which requires to use at least four threads, you may need to use a needle size 5 with a larger eye. Embroidery hoop If you have not used one before, think of doing so. Hoops are inexpensive and essential for getting your fabric tension nice and taunt while you stitch. If you do not use one, it can be really tricky not to pull too hard as you embroider, which can cause the fabric to pucker. Therefore, an embroidery hoop is essential. It must be small in order to allow you to hold the work comfortably in your hand while retaining access to the drawing. A hoop may leave marks so remember to remove it when you stop embroidering. Non permanent pens
If you want to add or transfer designs to a fabric, you can use non-permanent pens. There are several different pens you can use, so you are sure to find one that works best for you:
Scissors
These should be sharp and small, around 12 cm. If you want to keep them in good condition, be sure to use them only on your embroidery. Our preference: choose steel scissors, they will be more solid and the blades will snip easily through the threads. 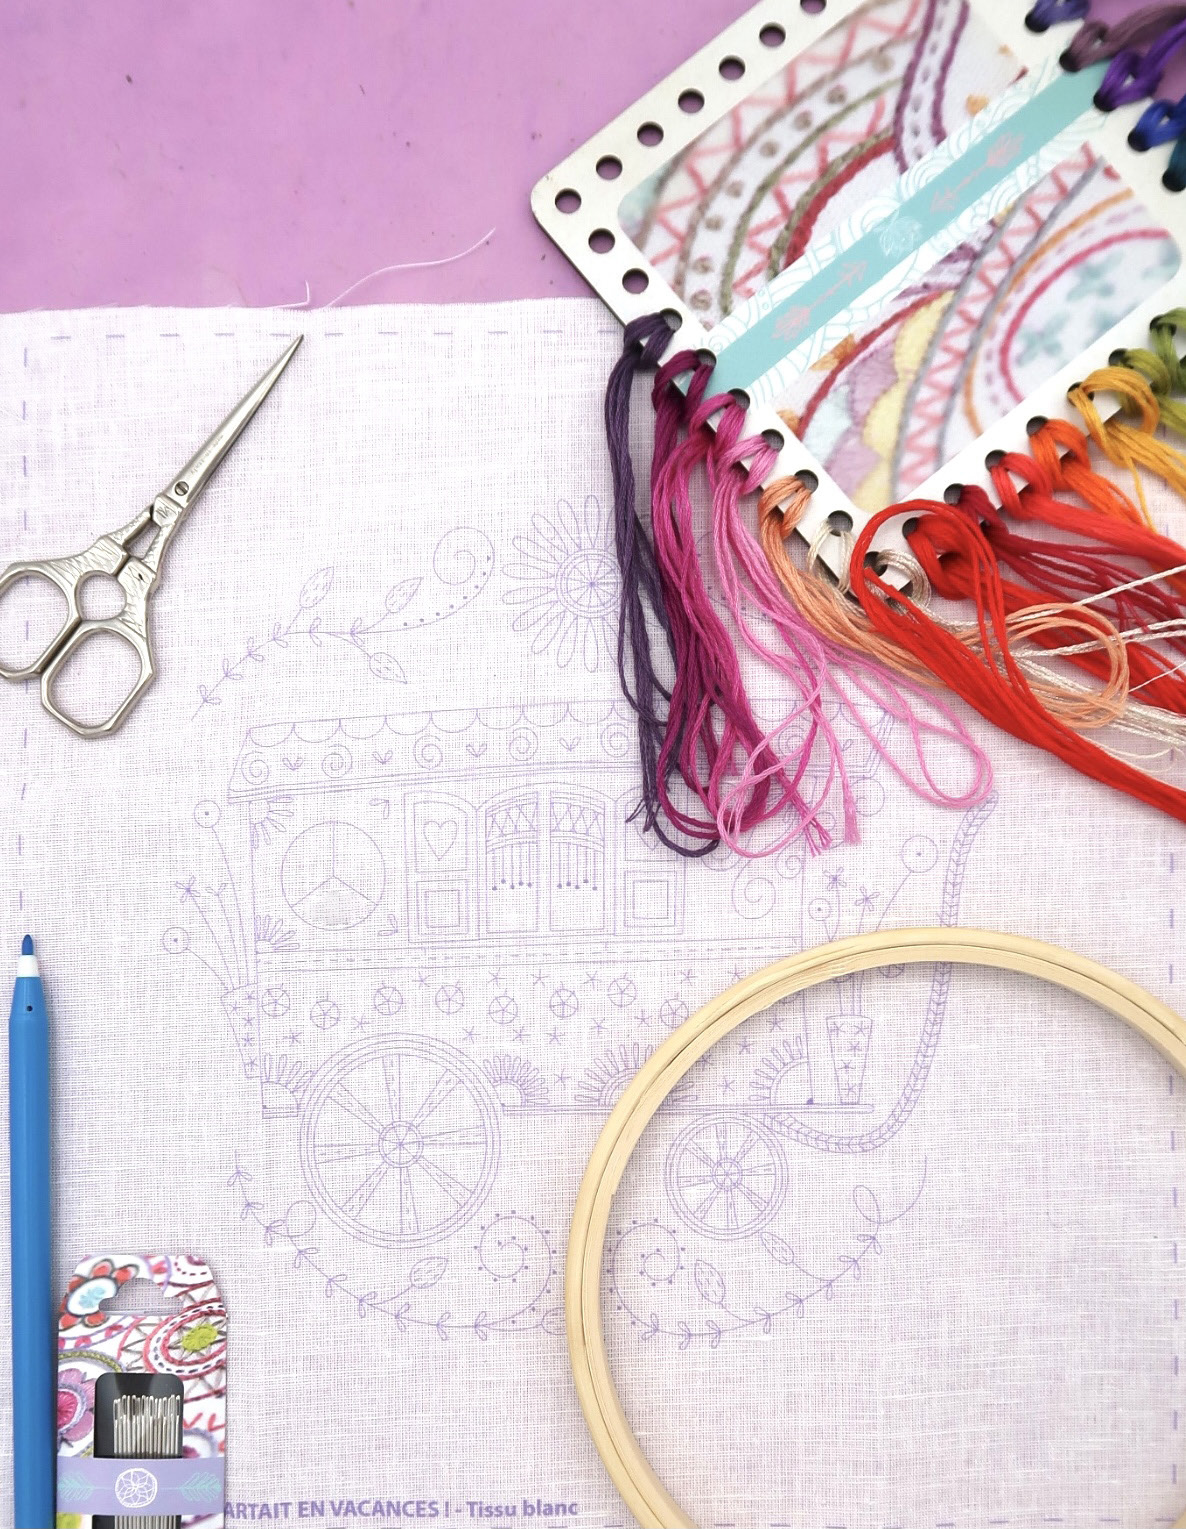 02. How to learn to embroider?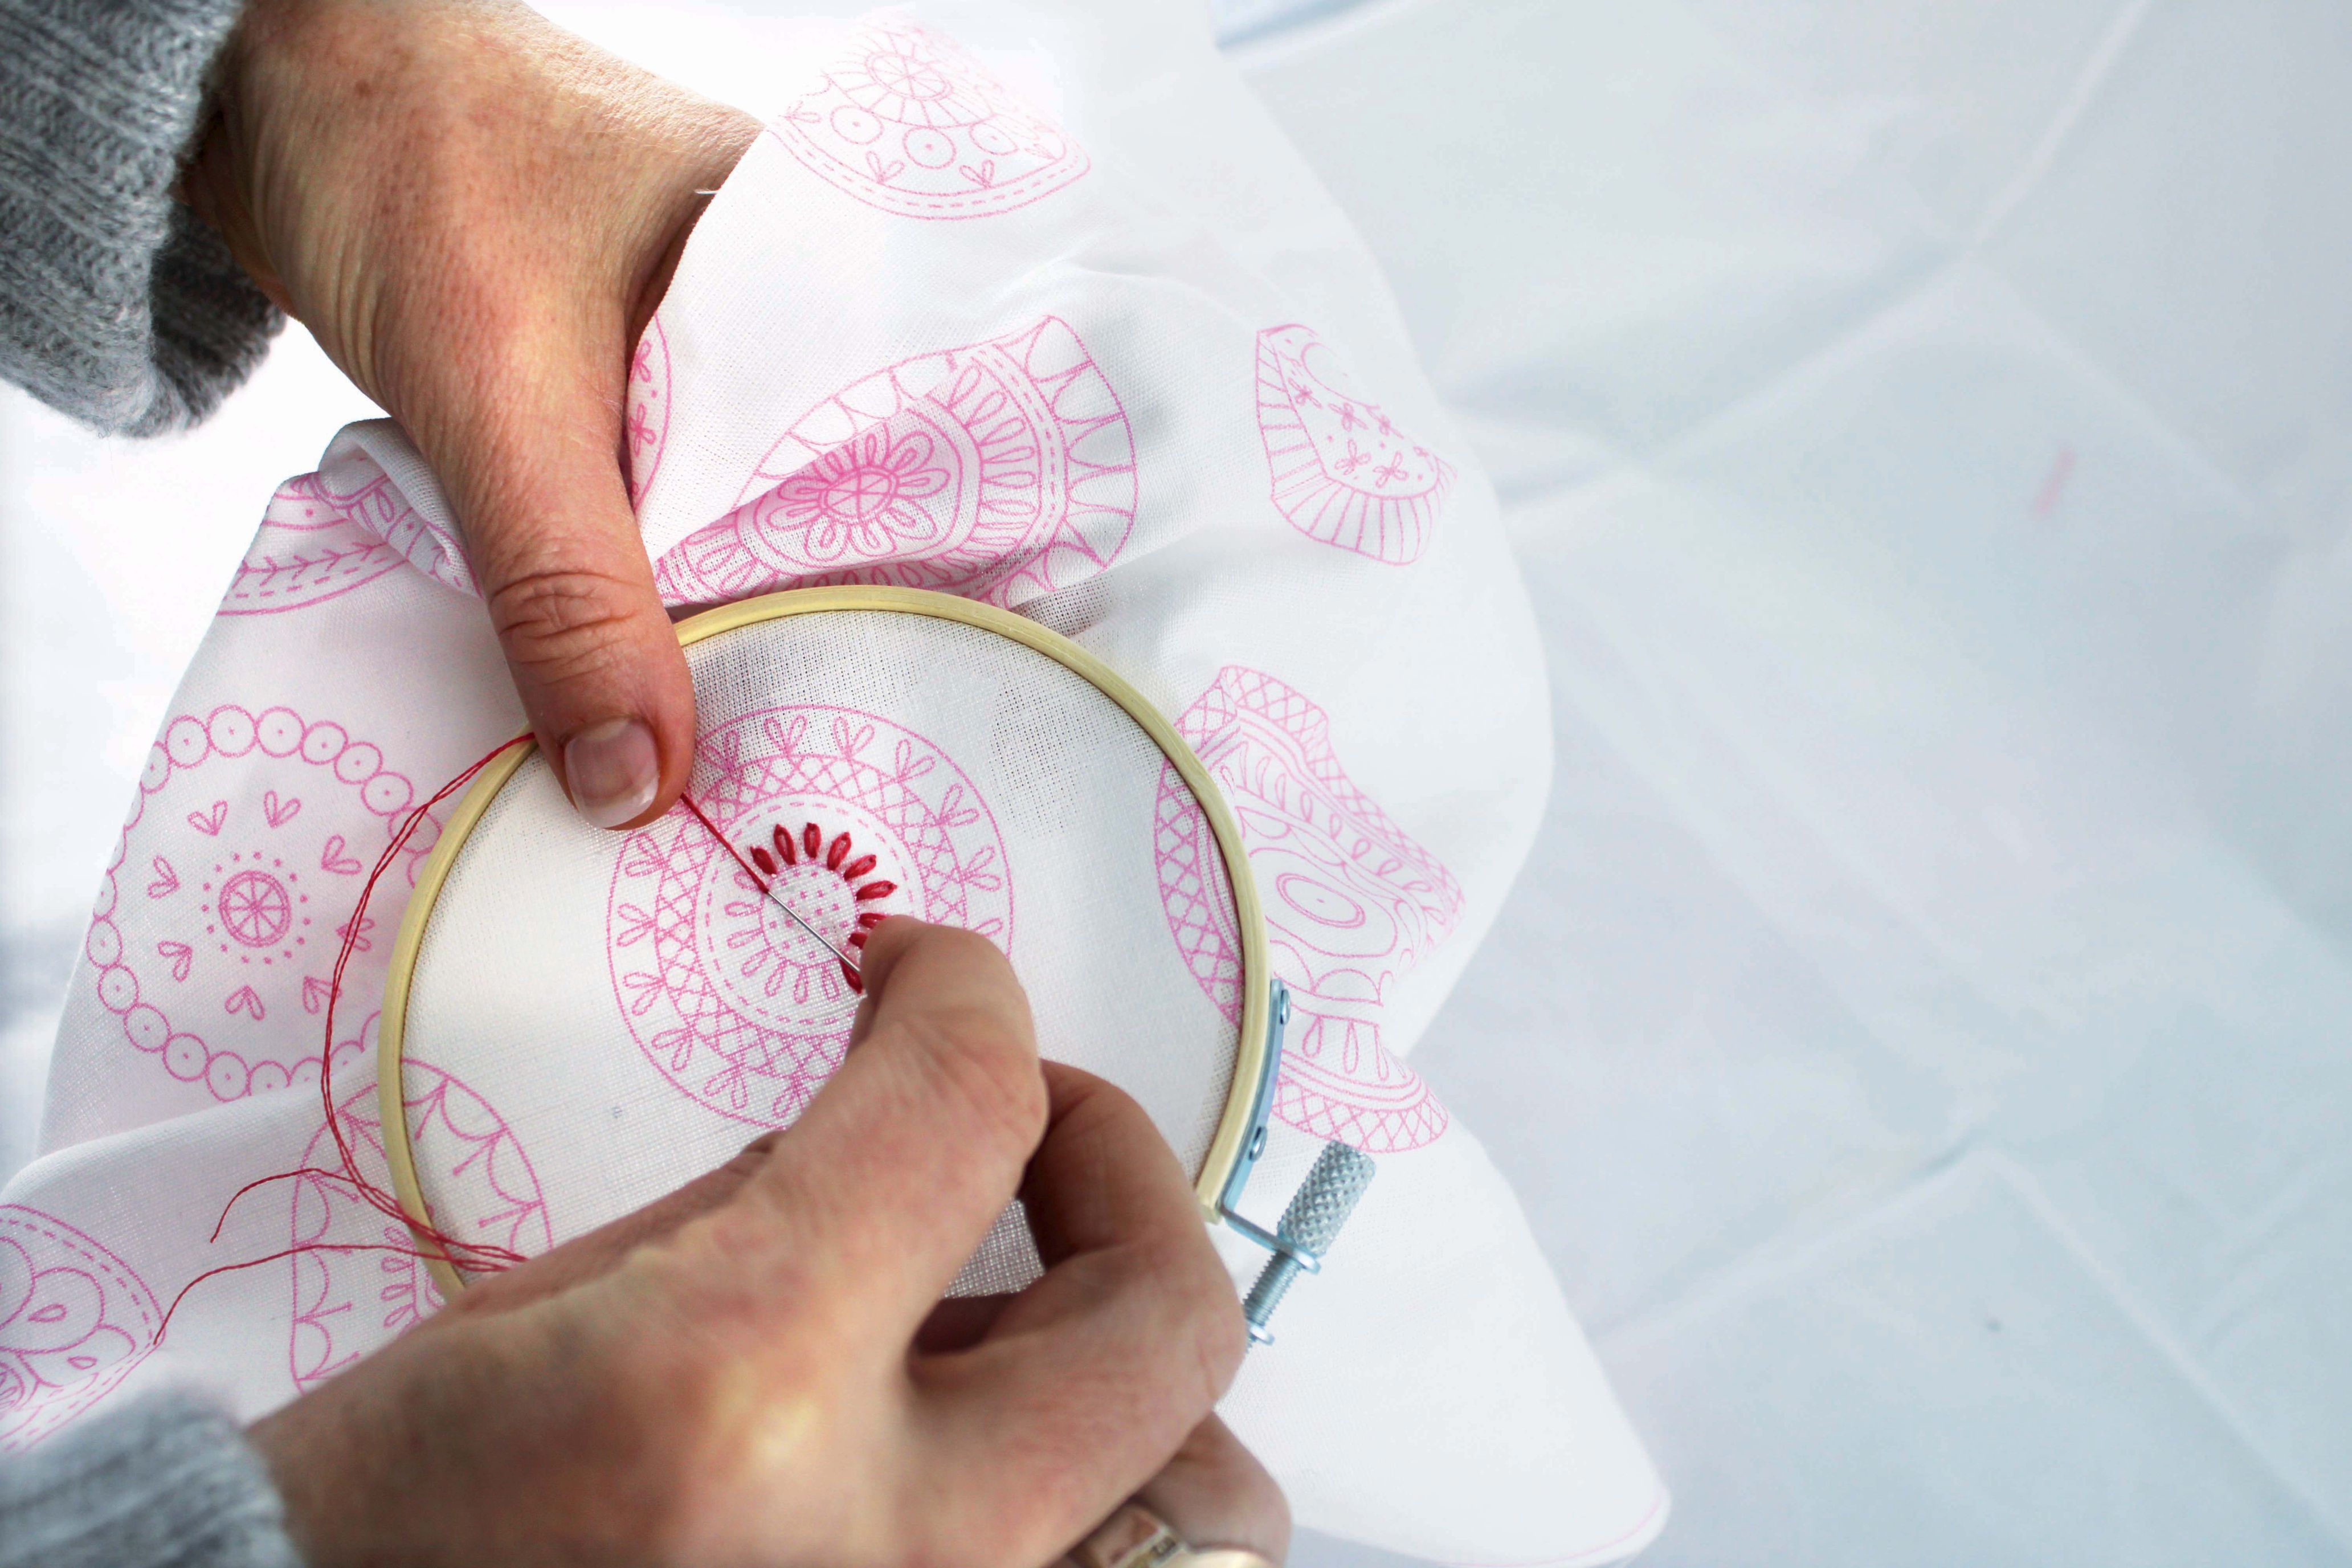 Content of our kitsBuying one of our kits is the easiest and most convenient way to start embroidering. You will be guided step-by-step with the necessary material to carry out your work.
«Un Chat Dans l’Aiguille» kits are therefore sold with:
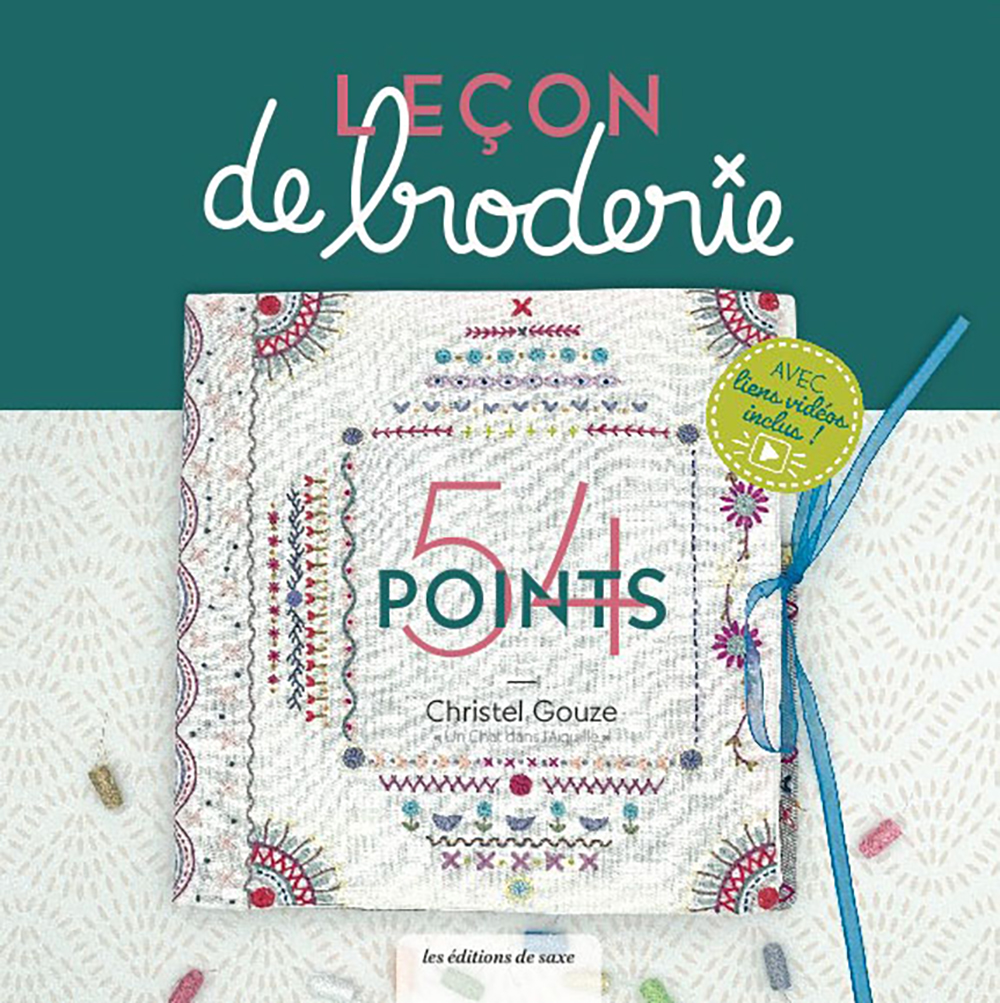
YouTube video tutorialsYou can find numerous tutorials on our YouTube channel "Un Chat Dans l’Aiguille". The videos will allow you to understand and better comprehend the different stiches, some of which may be difficult for you. Book : Embroidery notebookOur book “Leçon de broderie” is a great tool for learning how to embroider. In addition to helping the embroidery notebook pro- ject, the book explains 54 different stitches and includes, for each one of the points, a QR code link to a video tutorial. 03. How to start?One embroidery at a timeIt is best to start with a single project. You will quickly find that traditional embroidery is much faster than the counted stitch (if you have used that method before). Getting to the end of your project will give you confidence!
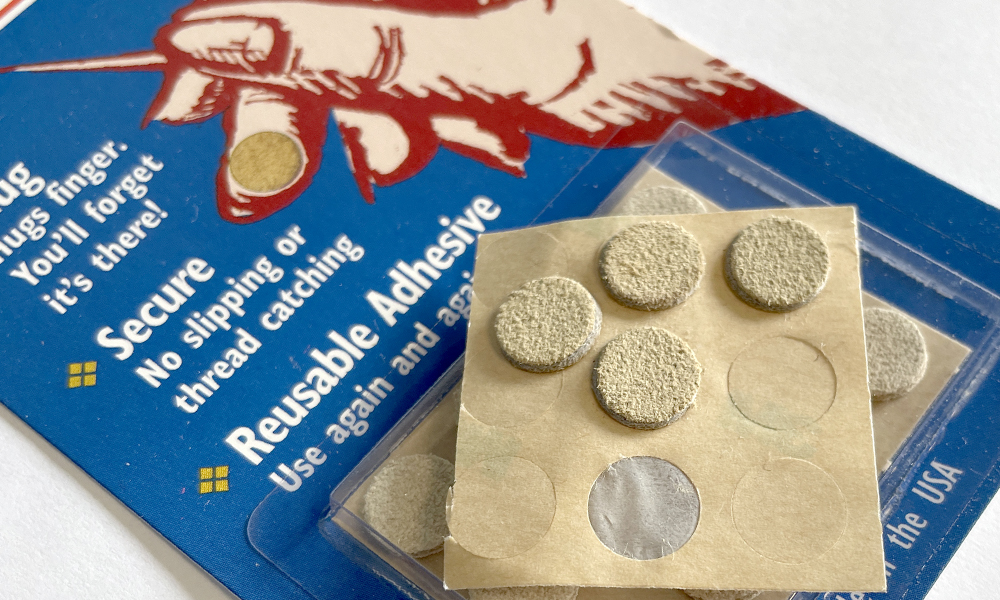
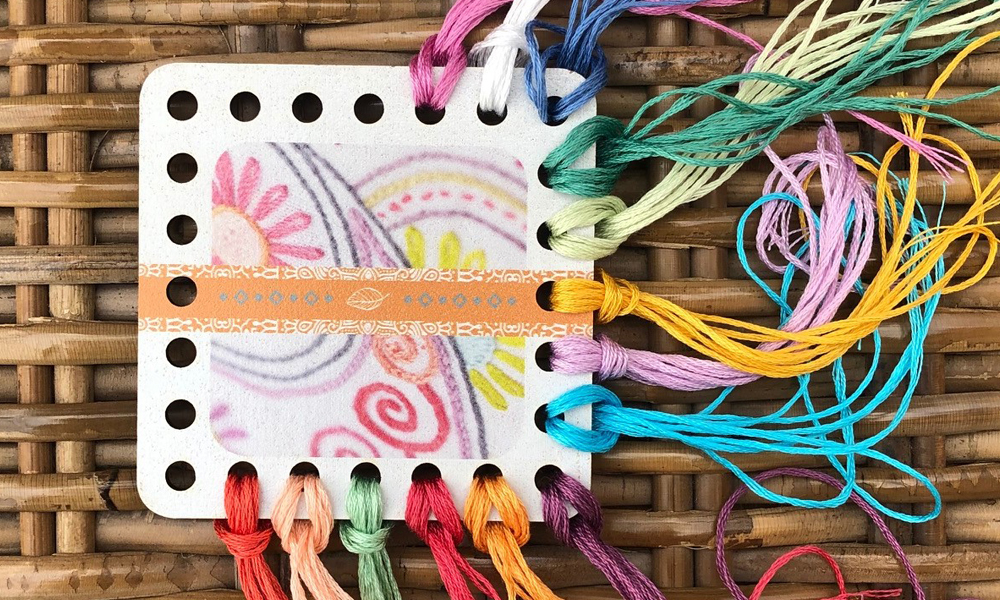
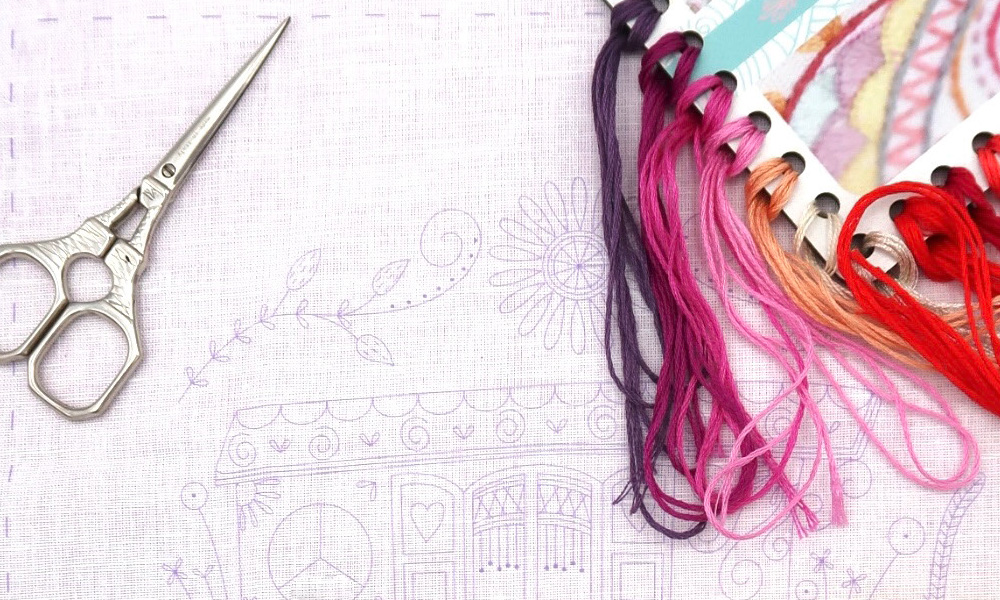
Gather the material in one place (needle stick, needles, threads, scissors, embroidery hoop...). Creating a pouch with all your accessories is the best way to be sure of always having your equipment with you and not forget- ting anything, especially when traveling! DMC chartYou will find the new DMC color chart on our website. It is a repertoire that lists all the different DMC thread colors using samples of yarns. As well as being beautiful, it is an essential tool for every embroiderer. Remember to sort your threadsTo do this, use the color chart provided in the kit. It will allow you to separate your threads by color. In some kits, you will find a small number above each color (x2): it indicates the number of threads provided in the kit for this color. Use a thread keepThe ones you can find on our website are made of wood. In order to make your life easier, write down the numbers of the yarn colors on small self-adhesive patches for you to position in front of each hole.
You can also make a thread keep yourself. Use a cardboard sheet, a small punch and there you have it! Take ownership of the projectFeel free to customize your work by changing the colors or the stitches. If some points seem a little complicated when you start, change them! A twisted chain stitch can be replaced by a stem stitch or a simple chain stitch, a buttonhole bar stitch can be replaced by a straight stitch... The most important thing is to cover the drawing! Take care of your backIt is essential to look after your back. To do that, choose a good seat and as my grand- mother used to say : “Your work comes to your face and not the other way round!” Take care of yourselfUse glasses and lamps and remember your work comes to your face and not the other way round.
Taking care of your eyes means keeping them healthy, which allow you to make nice regular stitches! Don’t forget your glasses. If your arms are too short to hold your embroidery far enough away, it’s time to see your optician! You can embroider in daylight or use a "daylight" lamp. There are all kinds of lamps, either fixed for at home or portable ones for globetrotters! They can be bought in your sewing shop/haberdashery or over the internet.
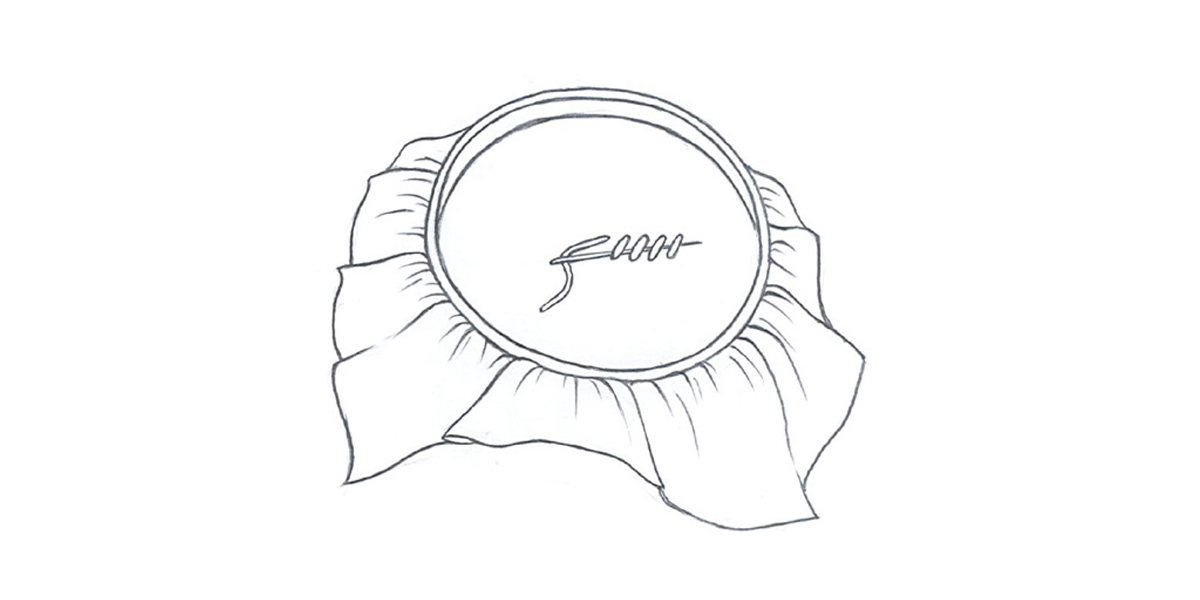
Some of you, even if you are wearing glasses, may need a magnifying glass. These also come in different shapes and sizes. 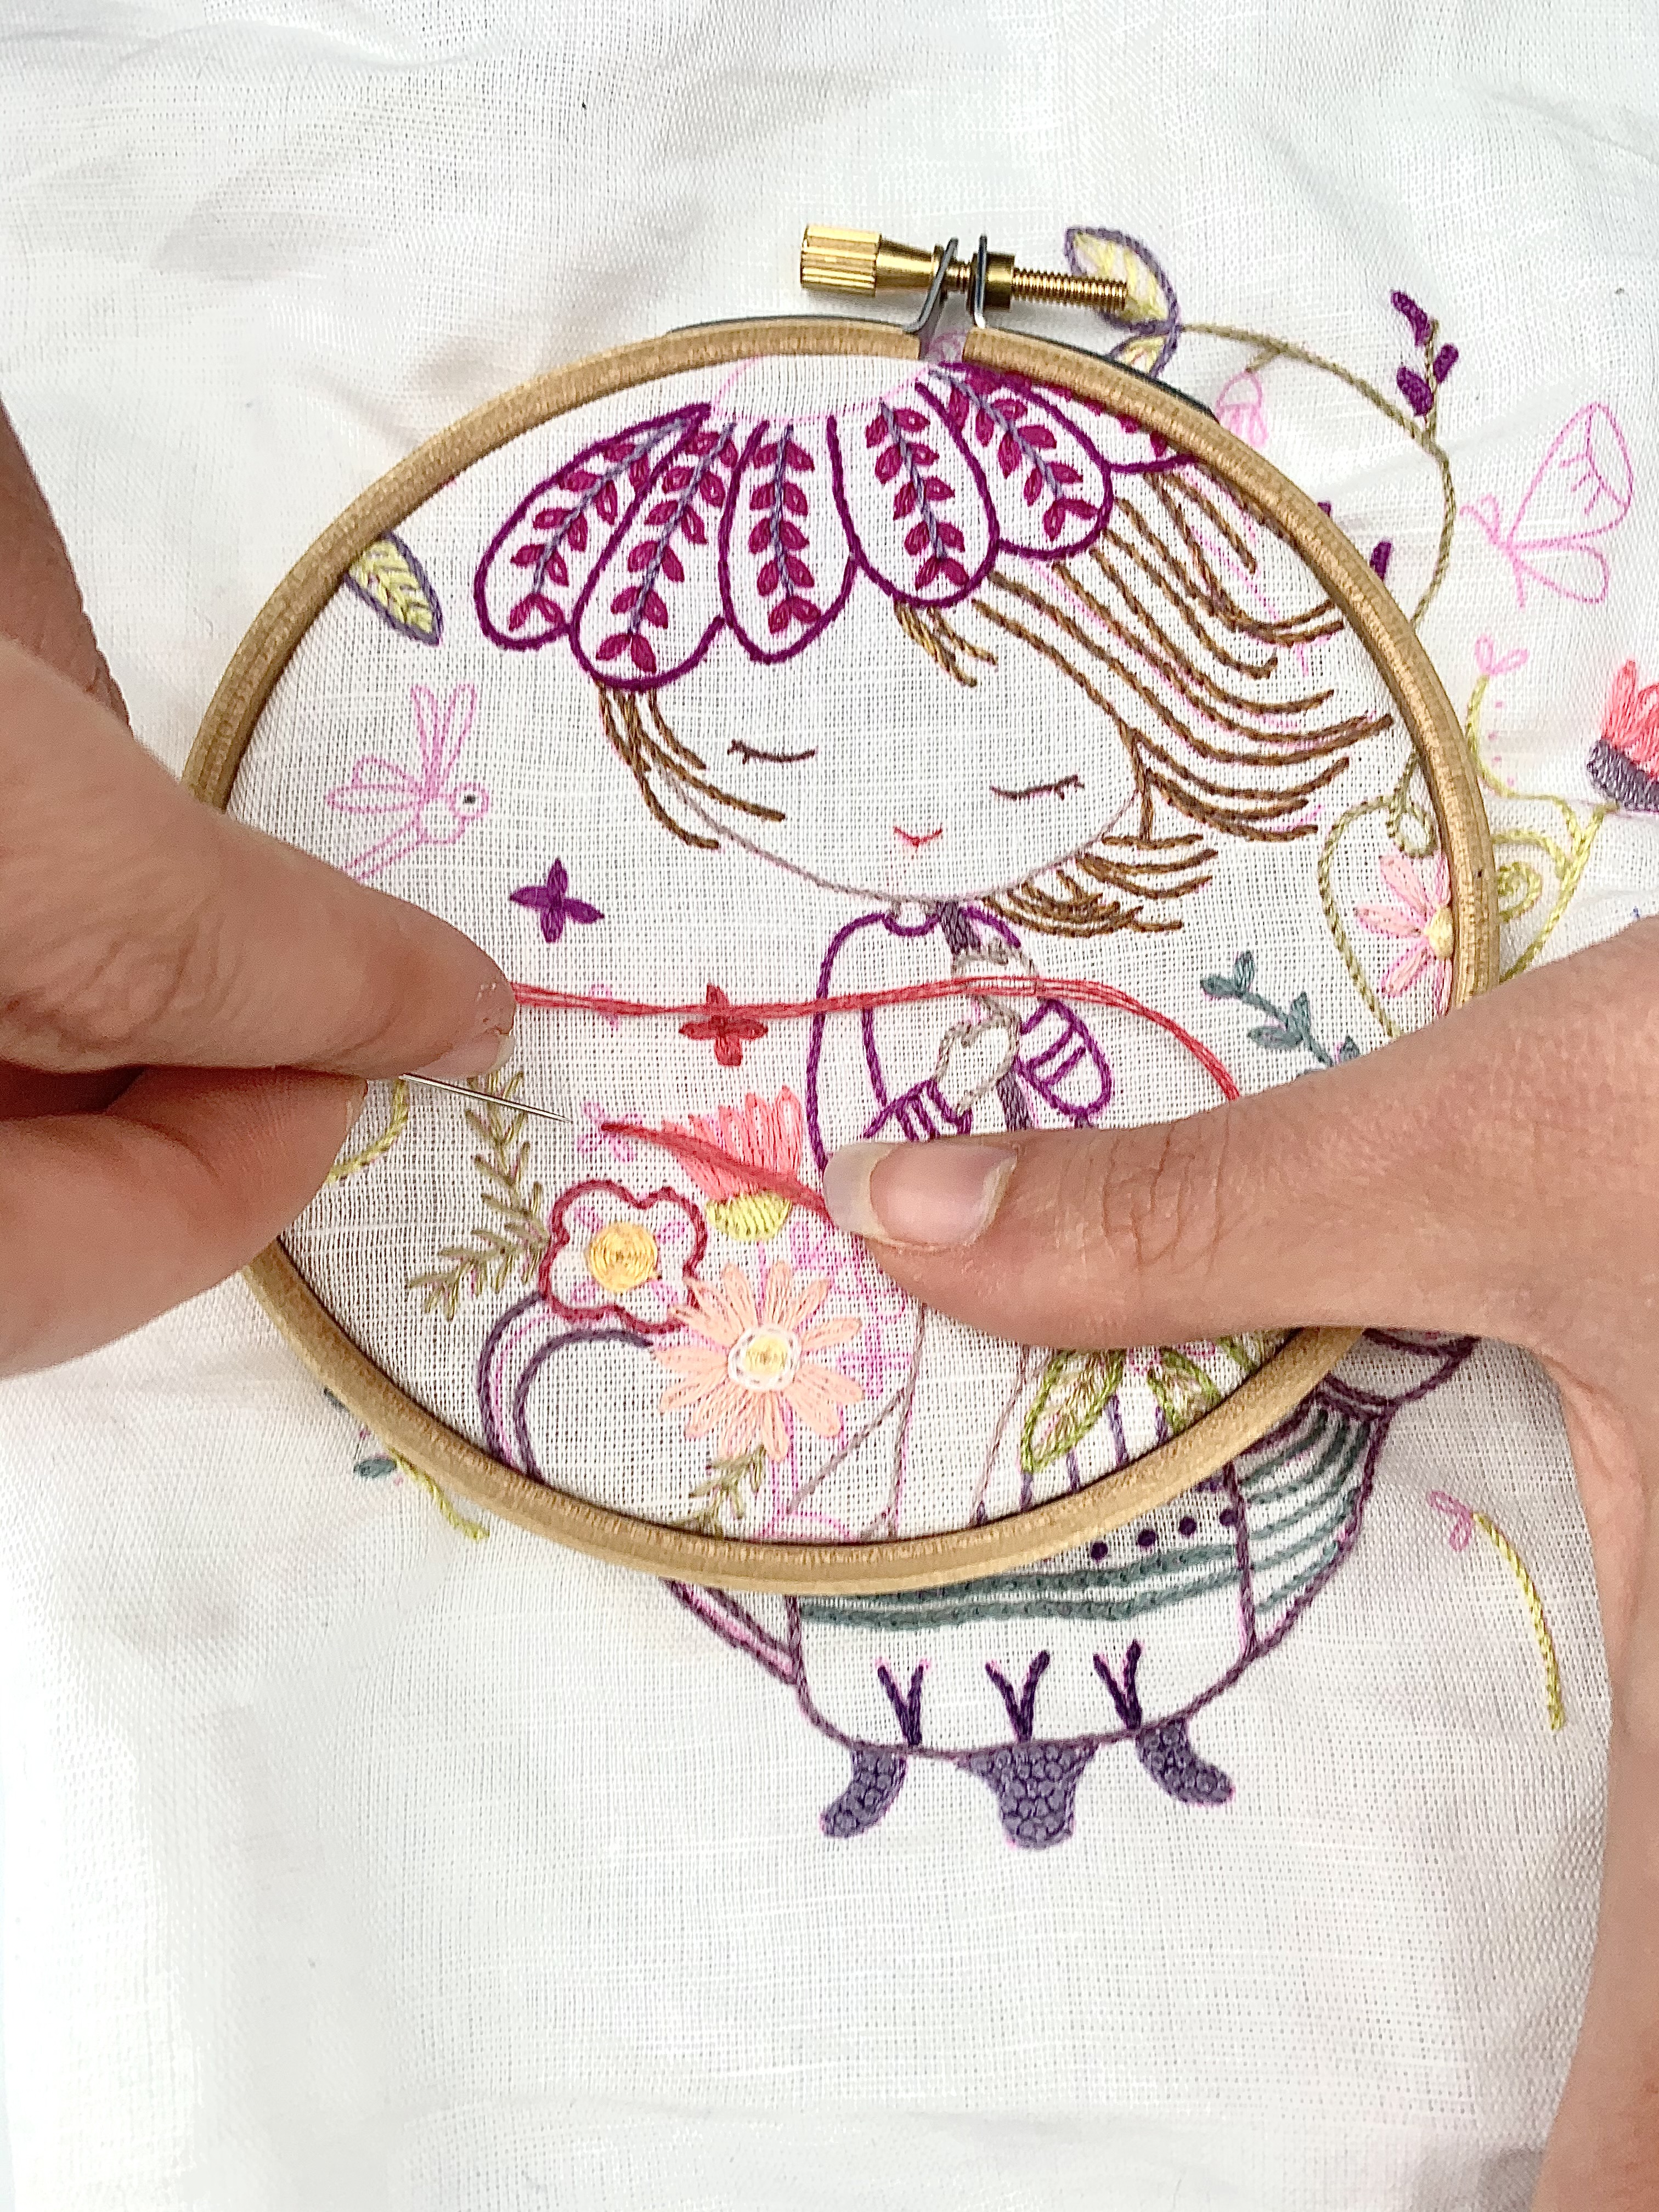 Set the hoop up right (right tension, right size)Using a hoop is essential to make nice regular stitches, especially when you are a beginner. The tension of your canvas should be neither too strong nor too flexible. Test it, and adopt the tension you like!
The pattern you are embroidering should be in the center of the hoop so that you can slide the thread under your thumb at all times.
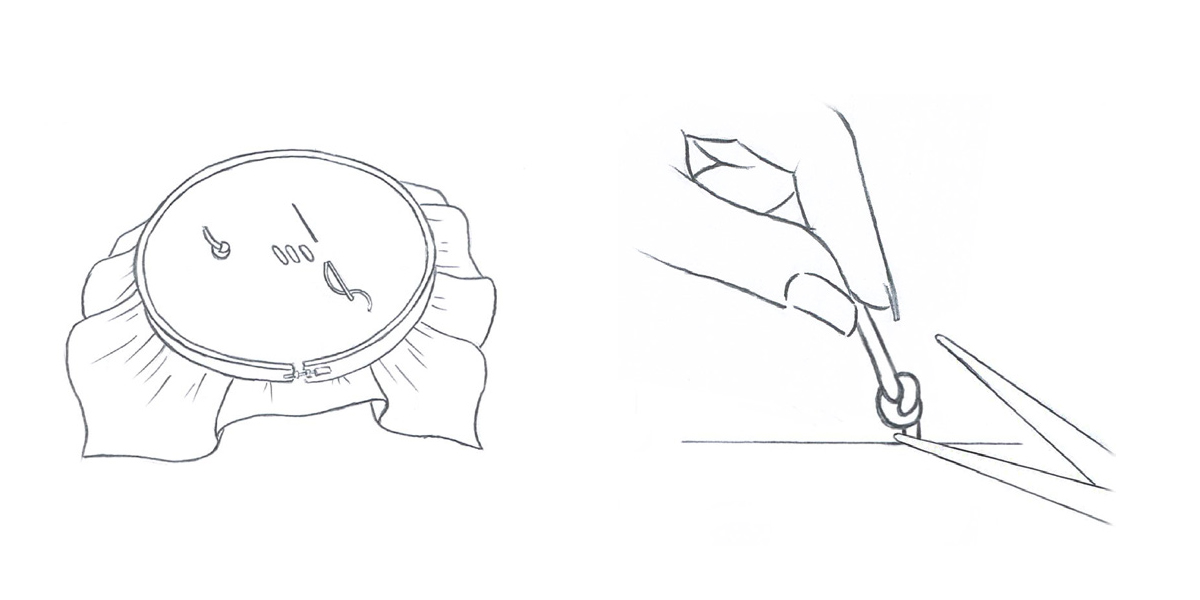
"The ability to slide the thread under the thumb" is the guarantee of having the right tension and therefore a regular stitch. It will also help you to get the right direction of the stitch.
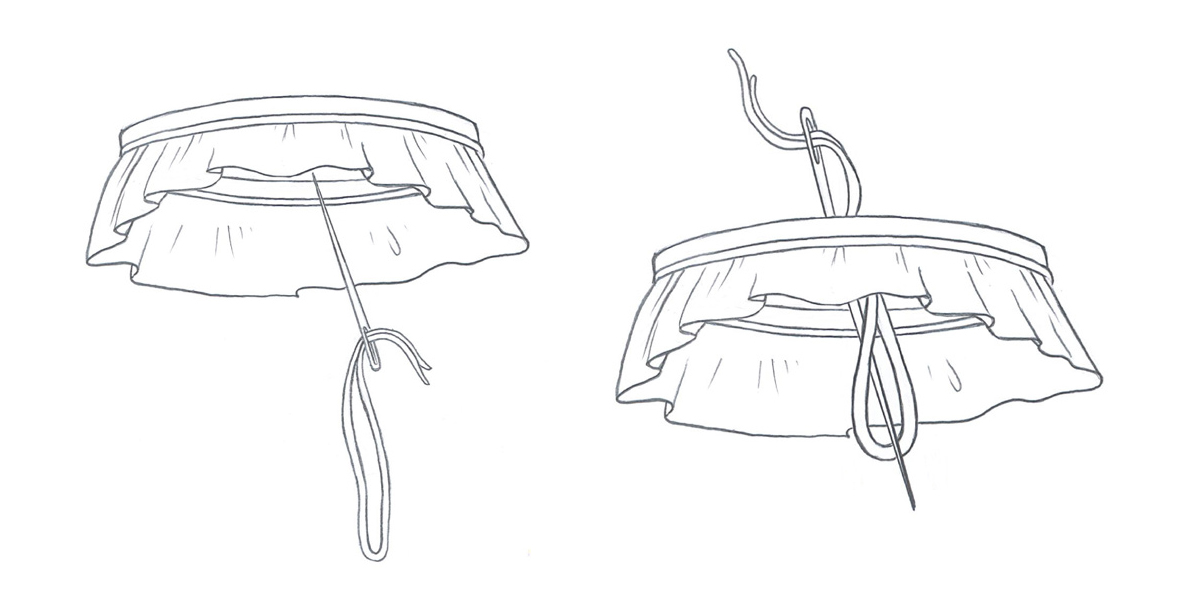
Thread the needleIt is important to ensure your embroidery stays in place so that the stitches do not come undone later on. In order to do that, you must know how to fix the thread at the beginning and at the end of your work. Avoid leaving a knot on the reverse side of the first stitch. Use one of the following methods:
|